Assigning a category to a file is a two-part process. First you assign the category, and then you define the order the item is displayed in that category
To assign the category
- Create or edit the article.
- Click on the plus (+) button on the right-hand side of the category field.
This opens the Assign a Category screen
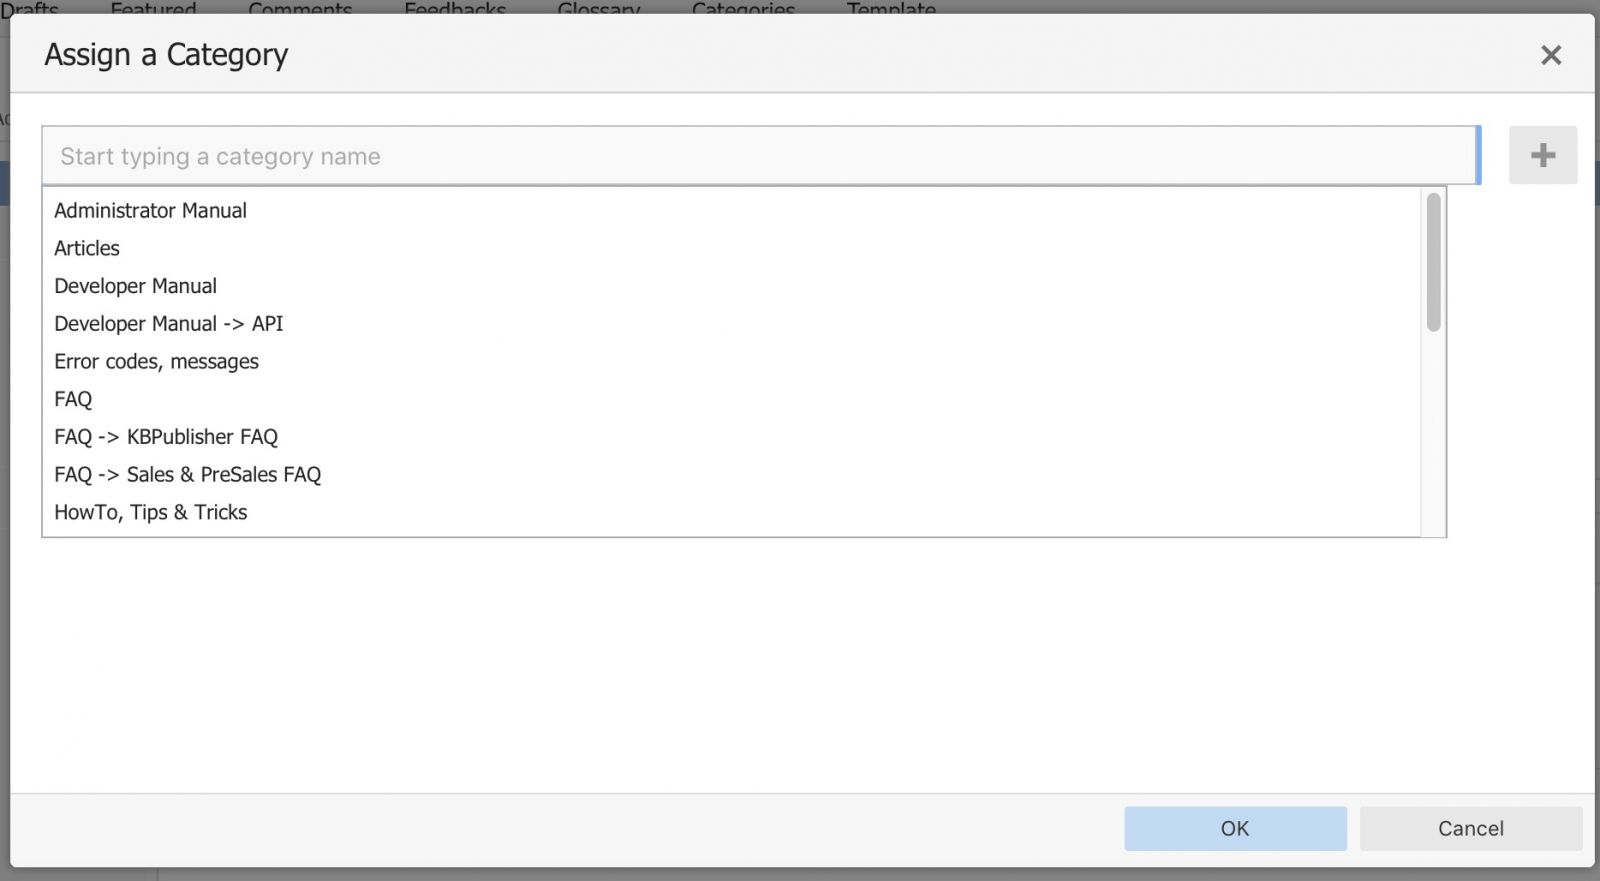
- Select a category by using the text entry field at the top of the screen. You can start typing a category name to filter the category list.
You can select multiple categories.
- Click OK to save your changes and exit the Assign a Category screen.
On the Assign a Category screen you can also:
- Unassign categories from this article by clicking the x button.
- Drag and drop categories into your preferred assignment order.
- Select which category the article will be published in, and which categories the article will be listed in.
Tips:
To quickly assign a category without opening the Assign a Category screen you can:
- Start typing a category name and then select the category.
To quickly unassign a category without opening the Assign a Category screen you can:
- Double-click on a category in the Category box.
OR
- Click on a category in the Category box, and then click the minus (-) button.
To order the category
When you exit from assigning the category the new categories are listed at the bottom of the screen.
- This will now contain a list of each category you have added, and an order. By default, articles are placed at the end of the category.
- Click on the order drop-down list beneath the category you wish to re-order

- Select a new position from the list
- Click OK to save the changes,

