To create a new automation (automated task), click Tools -> Automations tab make sure you are on the sub-tab the automation will be for: Articles, Files, or Incoming Mail. Then click Add new. See the information below about completing the form that appears.
When you create a new automation, or update an existing one, you see the same form:
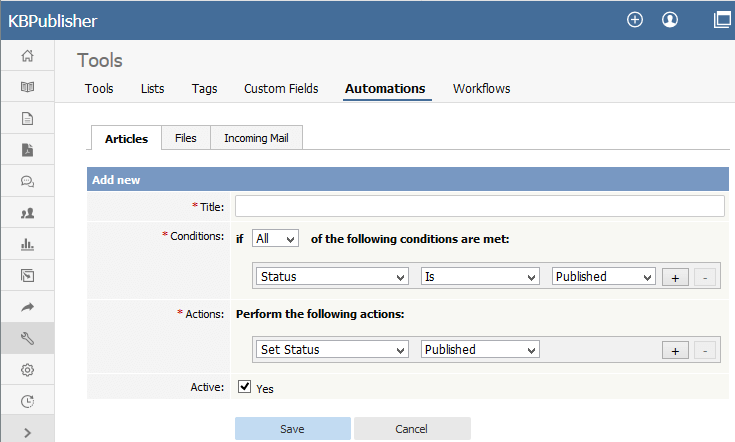
Complete the form in the following manner:
- Title - Required. Provide a descriptive title for this automation. It should not be the same as the title of an existing automation.
- Conditions - You must have at least one condition that the automation checks each time it runs. You can have multiple conditions. Set the automation to perform its actions if any or all of the conditions are true. Add a condition by clicking the + button; remove a condition by clicking its - button.
- Actions - If the automation finds that the conditions in the previous field are met, it performs the actions you set here. You can have multiple actions. Add an action by clicking the + button; remove an action by clicking its - button.
- Each action will either set status or send emails to one or more recipients.
- Set status - If you choose this action, in the next field specify the new status for the article or file from the list of options shown above.
- Email - you can choose to send an email to yourself or another user, or to a user group. You can opt to send one email for each item that matches the conditions, or to bundle all the notices into a single email.
You need to prepare the email template in the fields that appear:
- Title - Provide a title for the email.
- Body - Provide the body of the email. You can use template tags to customize the email: for instance, if you want to include the title of the article in the email, you could write "This is an alert about the article [article.title]." When the automation needs to send the email, it replaces the template tag with the appropriate information.
To see the template tags that are available, click Show template tags.
To check that the email looks as it should, click Test template to see a preview.
- Active - Select to activate this automation. It will run daily until deactivated.
Click Save to save the automation. Click Cancel to abandon your edits and close the form.
Important:
An active automation will run daily. Make sure that, when the automation finds an article or file that meets its conditions, one of the actions invalidates for that item one of the conditions of the automation.
