To locate your workflows, select Tools from the menu bar and then select the Workflows tab.
You can create your own workflow from scratch, or copy an existing workflow and adapt it to your needs. You can create or edit a workflow for either articles or files.
- To create a new workflow, click Add new to open the Workflow form.
- To edit a workflow, click the actions icon in the workflow's row and select Edit.
- To make a copy you can adapt, click the actions icon in the workflow's row and select Copy.
The workflow form appears, with blank fields if it is for a new workflow and with the existing information if you are editing or copying an existing workflow.
Note: you can't edit an active workflow. First change the workflow's status to "inactive" and then open it for editing. When you have completed the edits, you can change the status back to "active".
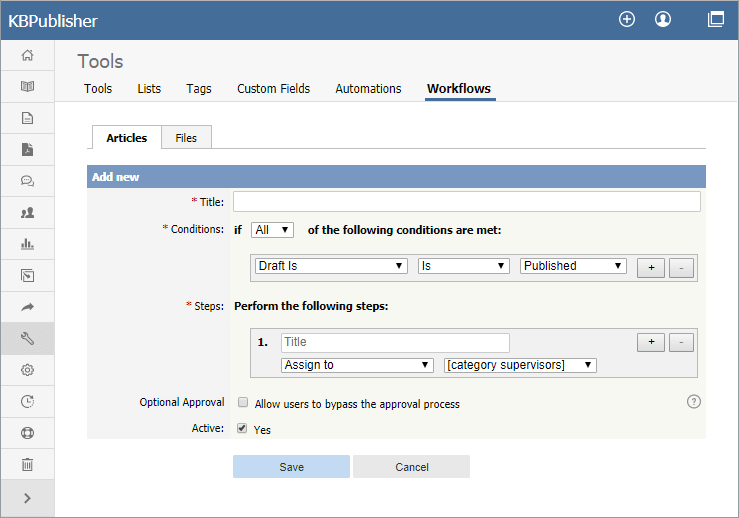
Complete the fields in the form:
- Title -- Provide a unique, distinctive title for this workflow.
- Conditions -- Add one or more conditions that the workflow evaluates each time it runs. You can set the workflow to take action if any of the conditions are true, or if all conditions are true. In the example above the workflow conditions apply to articles that have been published and where the author's privilege level is greater than "author" (the author is also an editor, for example).
- To add conditions, click the [+] button to the right of the field.
- Each condition can apply to one of these:
- Whether the draft is published or not.
- The author's privilege level.
- The author's identity.
- Steps -- Provide one or more steps for the workflow to take if the Conditions section evaluates to true.
- Add steps by clicking the [+] button to the right of the field.
- For each step, provide:
- A title for the step.
- The action to take (like "assign" the article or file).
- Where relevant, the person or role to assign the article or file to. Select from the options provided.
- Optional Approval -- Select the checkbox to allow users to pypass the approval process in the workflow.
- Active -- By default, each workflow is set as active. To deactivate it, uncheck this check box. The workflow appears in the Inactive workflows list.
Click Save to save the workflow and add it to the active or inactive list.
Click Cancel to abandon your edit and close the form.

