A workflow may assign the draft of an article or file to you for review. You can:
- approve the draft. The draft then moves to its next assignment in the workflow, or (if it requires no further approvals) is published.
- publish the draft. The draft then become available in the Public area.
- update the draft and then approve it. The draft then moves to its next assignment in the workflow, or is published.
- reject the draft so it is returned to the author for further work.
To see the drafts assigned to you, select Articles or Files from the main menu and then select the Drafts tab:
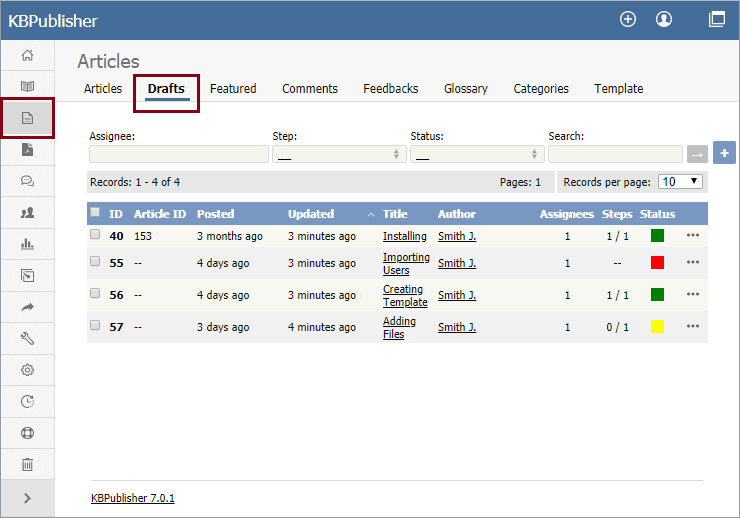
The colors in the article's Status column indicate the article's status. The options are:
- Yellow = waiting for approval.
- Red = rejected and returned to the author for further work.
- Gray = in progress; the article is not ready for review.
Review a draft
To review a draft, select a draft with a "waiting for approval" status indicator, click the [...] actions icon in the draft's last column and select Review. The review screen appears:
.png)
Click Preview to display the article or file in a pop-up window so you can evaluate the material.
In the example above, the current reviewer can
- Publish the draft if the material is satisfactory.
- Approve the draft to send it to its next approval step in the workflow.
- Reject the draft if the material is not ready for publication. A form appears where you can provide notes about additional work the draft requires. After you have added your comments, click Reject to send the notes and the draft to the author.
- Edit the draft if the material needs editing.
- Cancel to close the form without making a decision
Note: A user with admin privileges can approve or reject a draft at any stage in the workflow process, whether or not the draft is assigned to the admin.
Add or remove an assignee
The Assignee section of the Review screen lists those who are assigned to review the draft.
- Remove an assignee from the list by clicking the [x] to the right of the assignee's name.
- To add an assignee, click Click Add new. A popup window appears with a list of available staff. Click the down-arrow in the Action column for each person you want to assign the draft to. The down arrow changes to a check mark. Close the popup window when you have finished adding assignees.
You can remove all assignees from the list.
Review the log
The bottom part of the Review screen shows the workflow log. The author, reviewers, and admins can add comments when they are submitting, approving, or rejecting drafts, and the comments are available in this log.

